
Congratulations! You’ve been voluntold to do the exciting and highly rewarding task of assembling the Village showers! Don’t panic, it’s easy enough for any (Village) Idiot with this handy-dandy How-To!
First off, find a suitable space for the showers. Include adequate working space around them for staging and manipulation of parts. You will need at least 25′ x 10′ for the showers and grey water bins alone.
Note: It may help to lay the parts out in an exploded-view to identify parts as well as find the correct orientation at times as the parts are not interchangeable with others. If there’s enough space next to the installation area, this will significantly help with locating parts as you install.
Next, lay out tarps large enough to cover the entire footprint of the shower and grey-water bins PLUS some extra as people splash and spill when pouring wastewater into the bins.
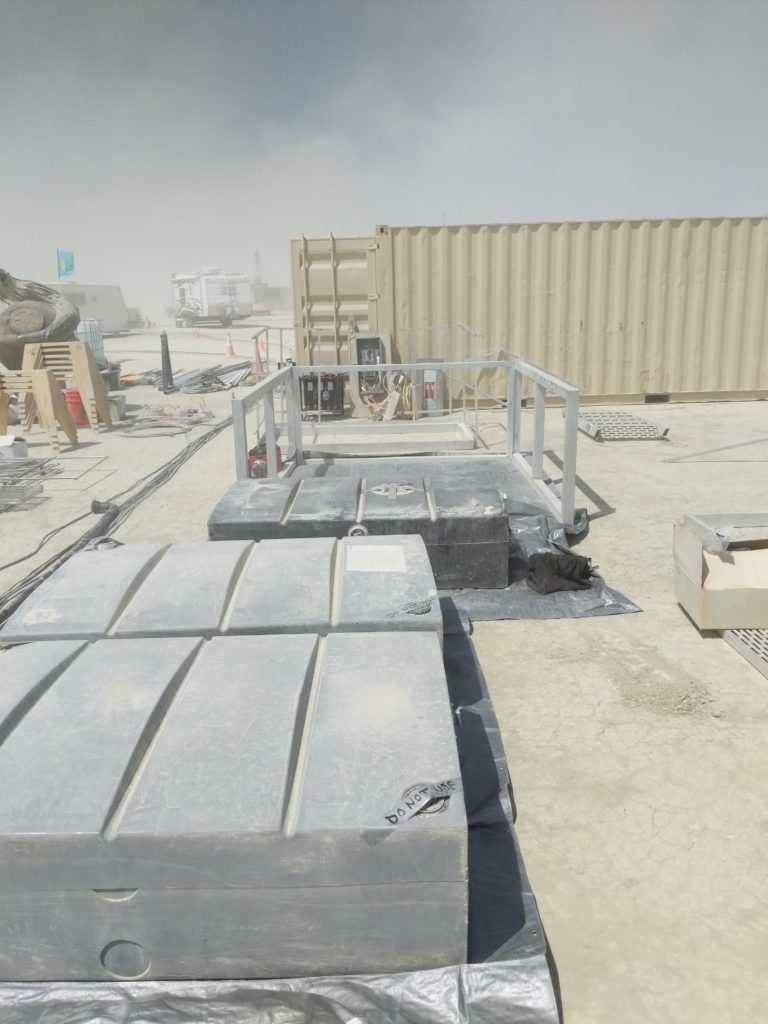
Align the wastewater bins to the shower for ease of drainage and servicing:
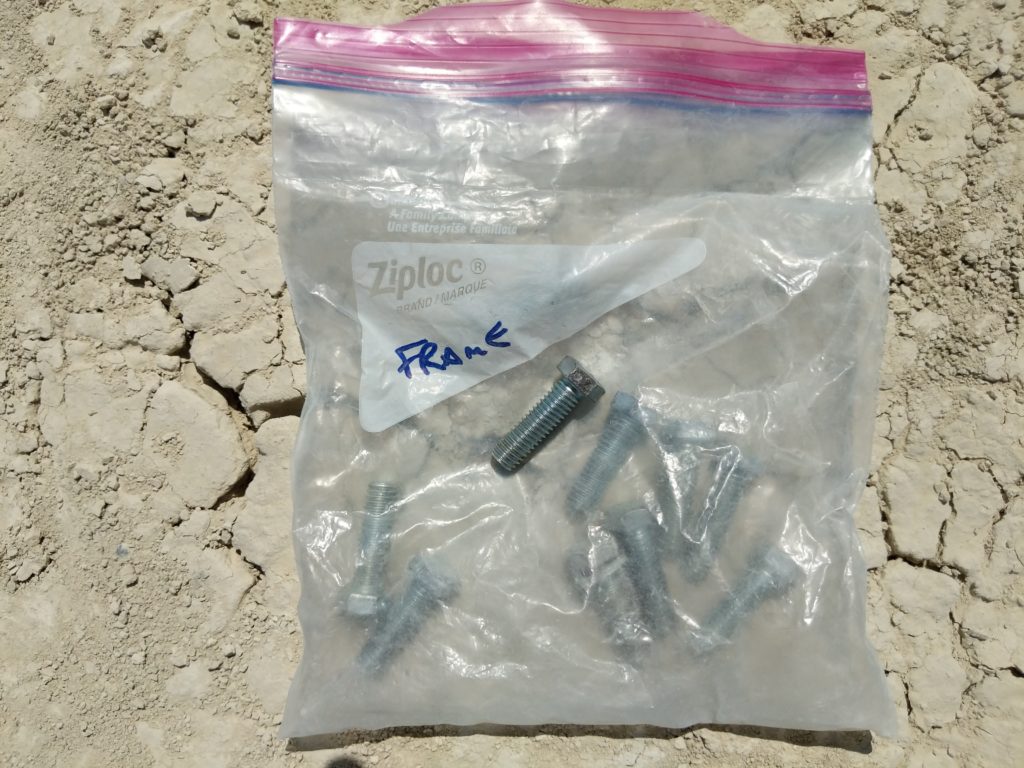
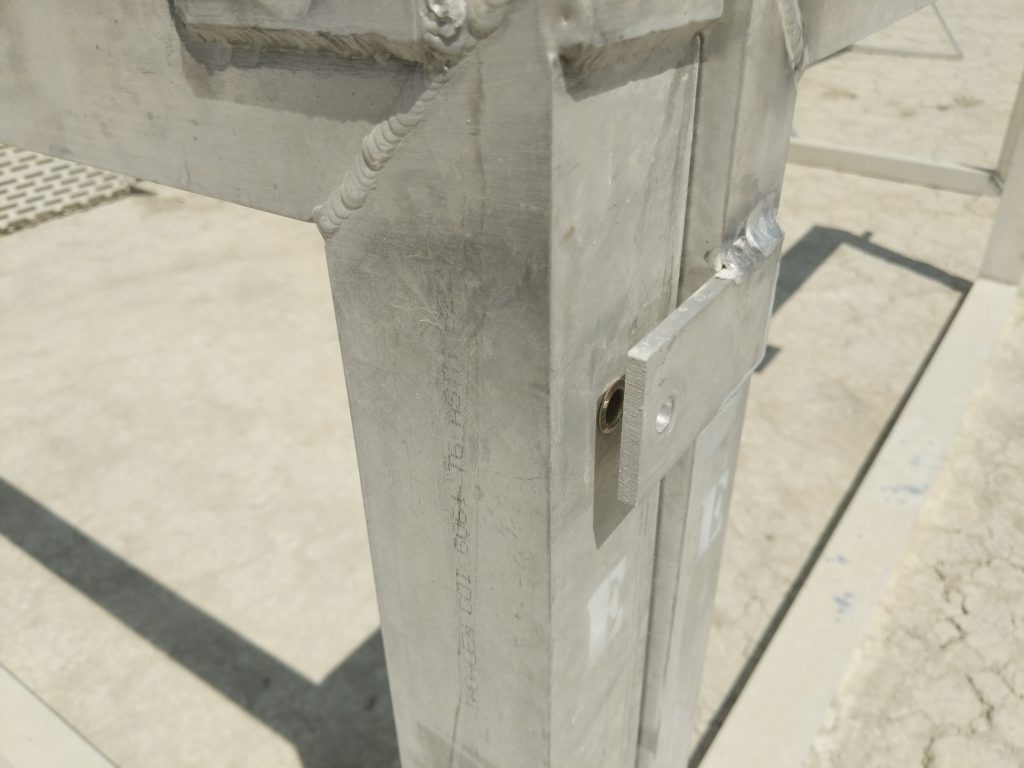
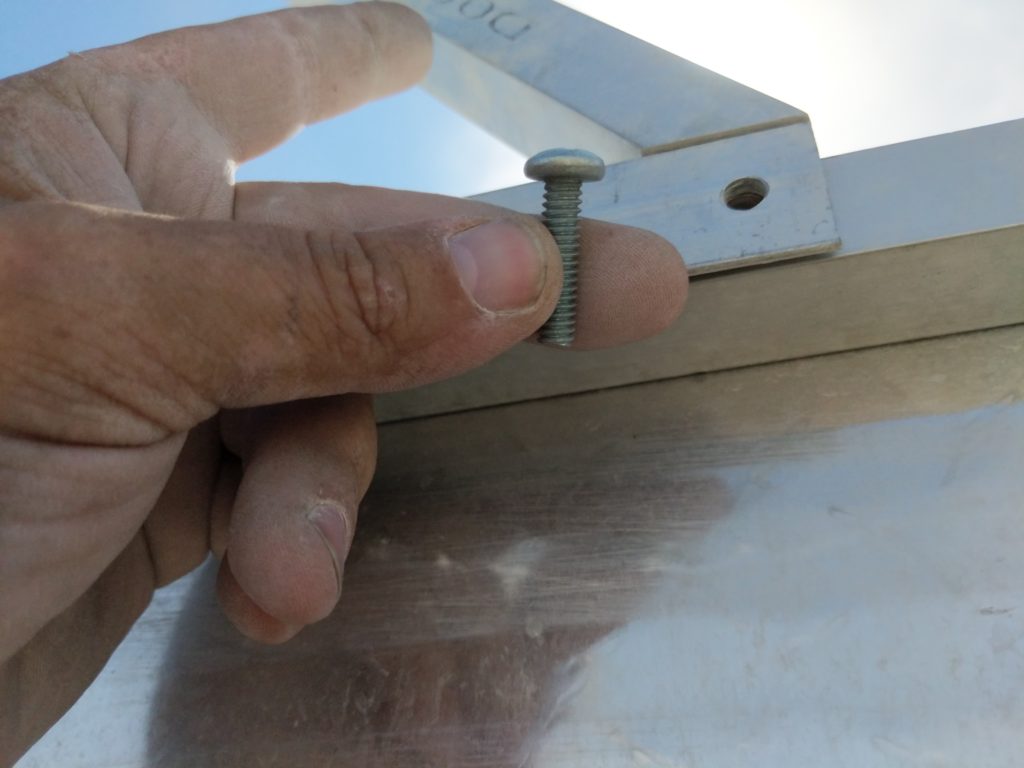
Identify the bolts for the frame:
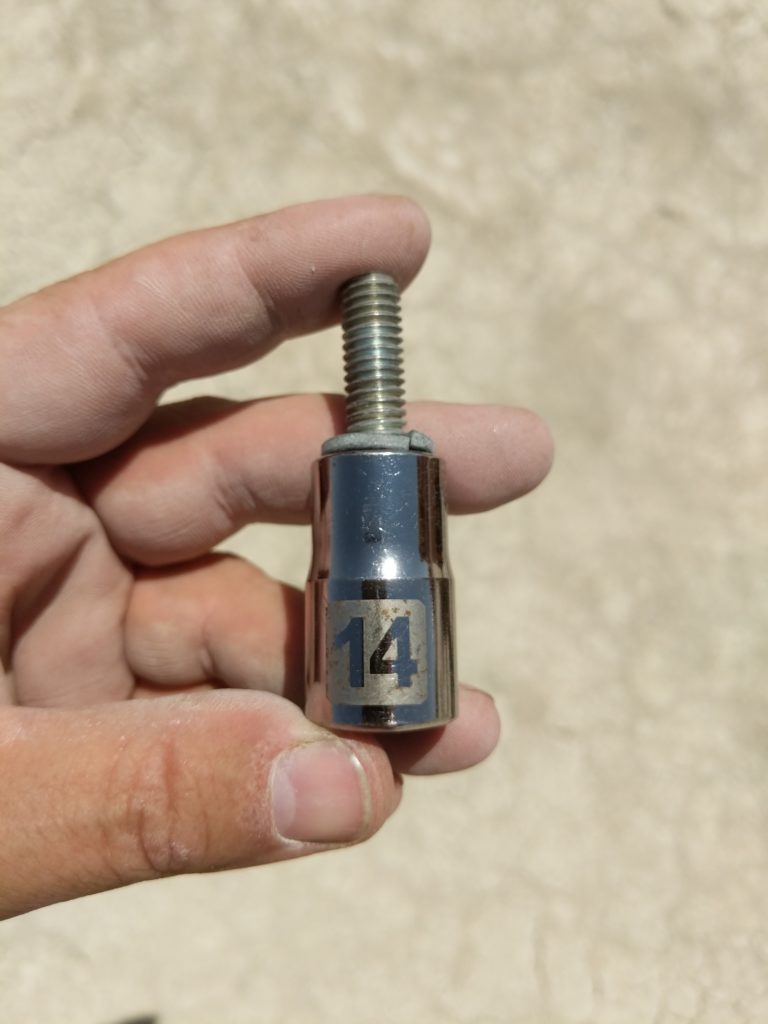
The frame bolts use a metric #14 socket:
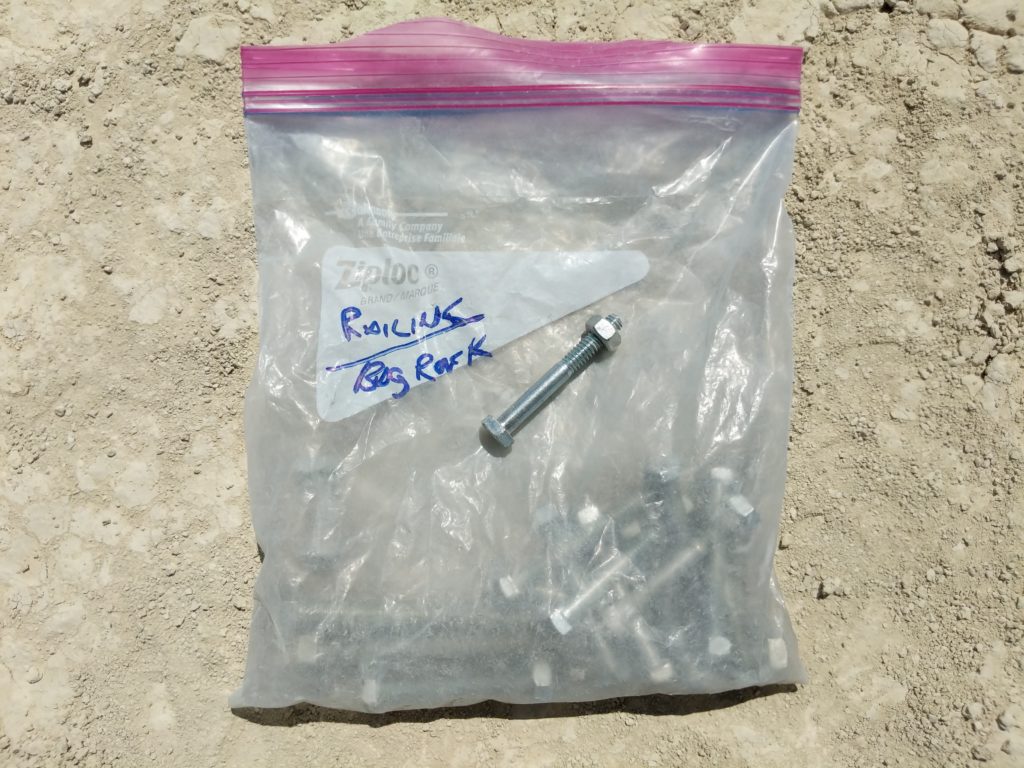
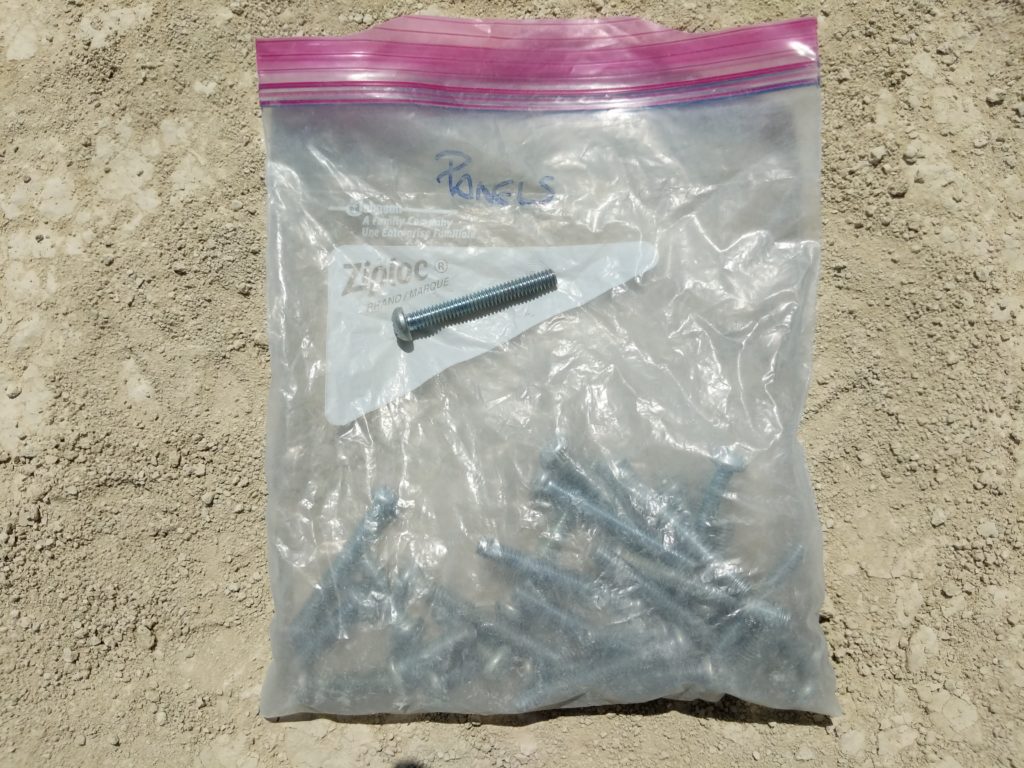
Identify the bolts for the railings & steps:
Identify the bolts for the shower stalls & shower-bag rack (#2 Philips bit):
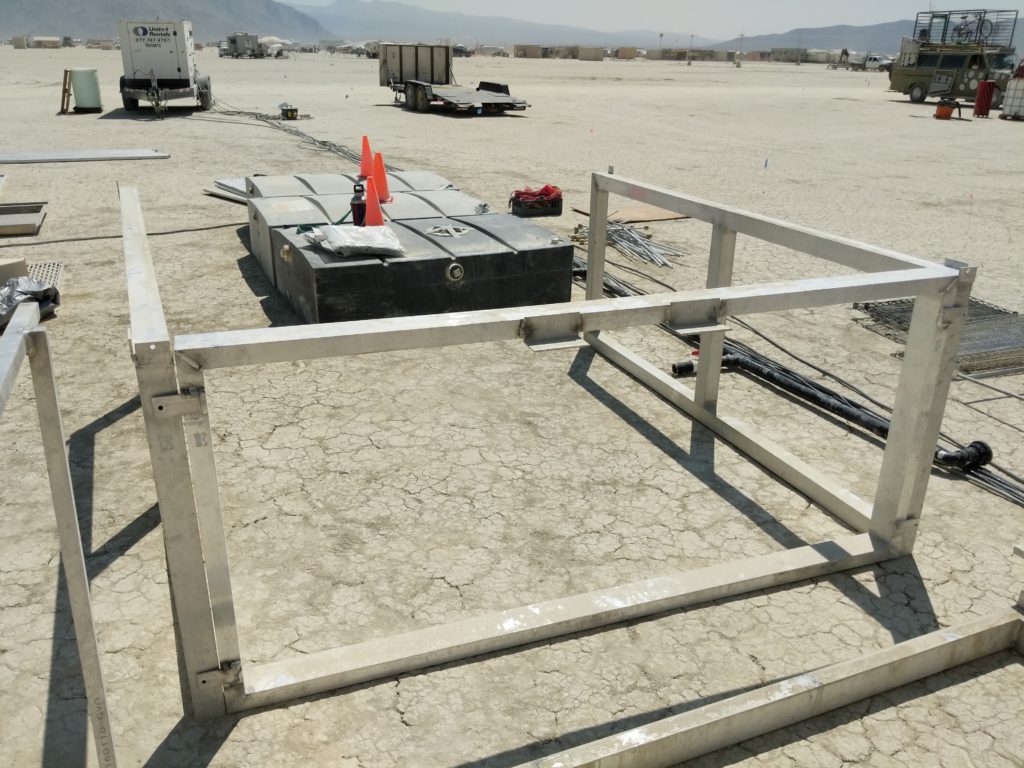
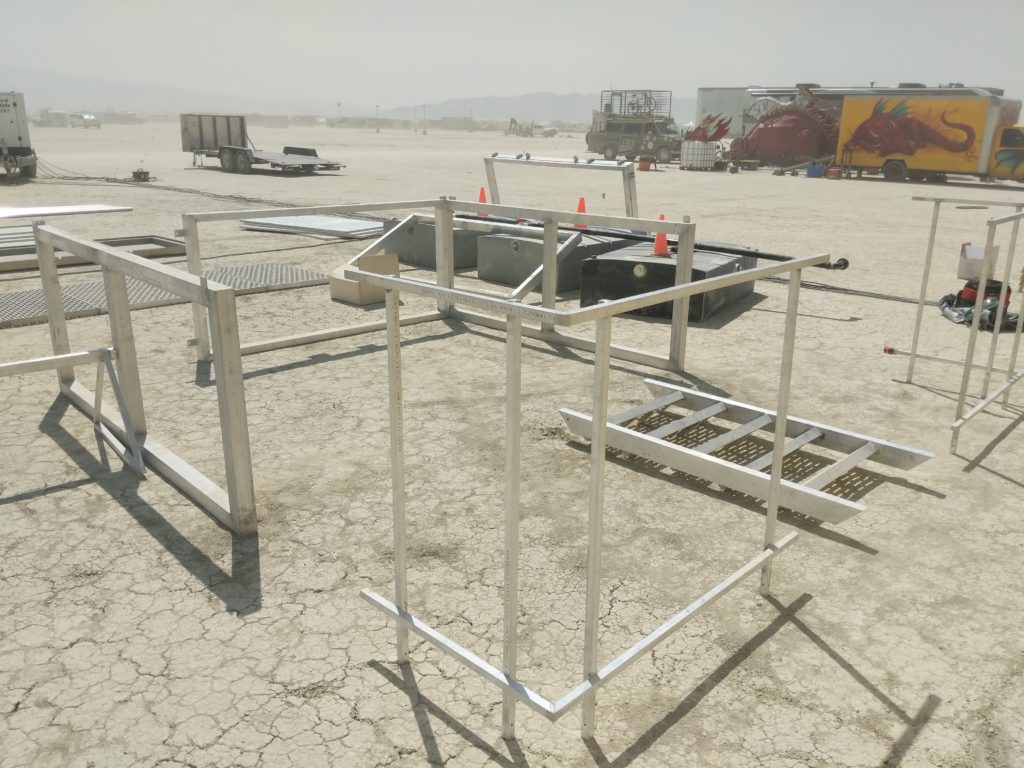
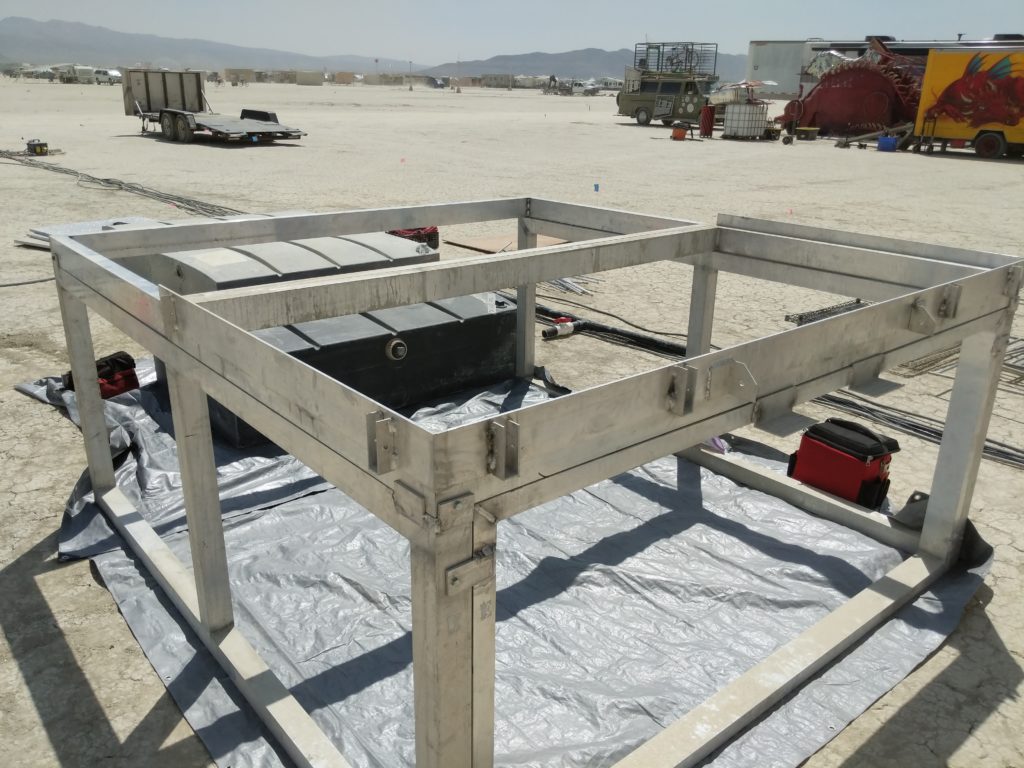
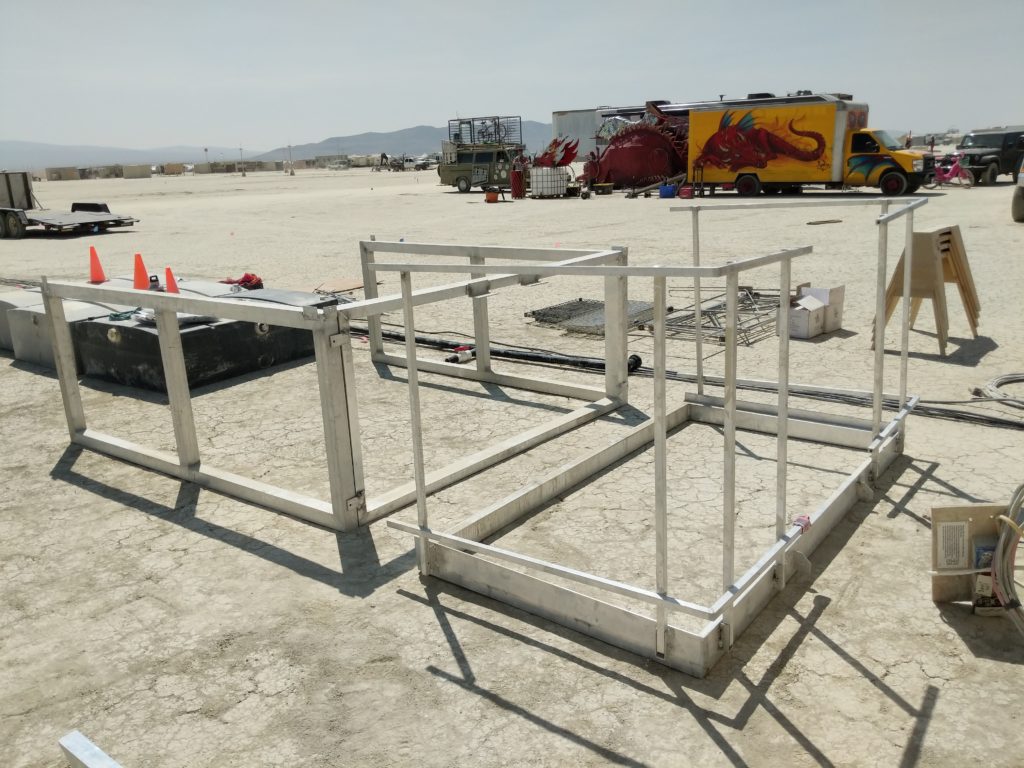
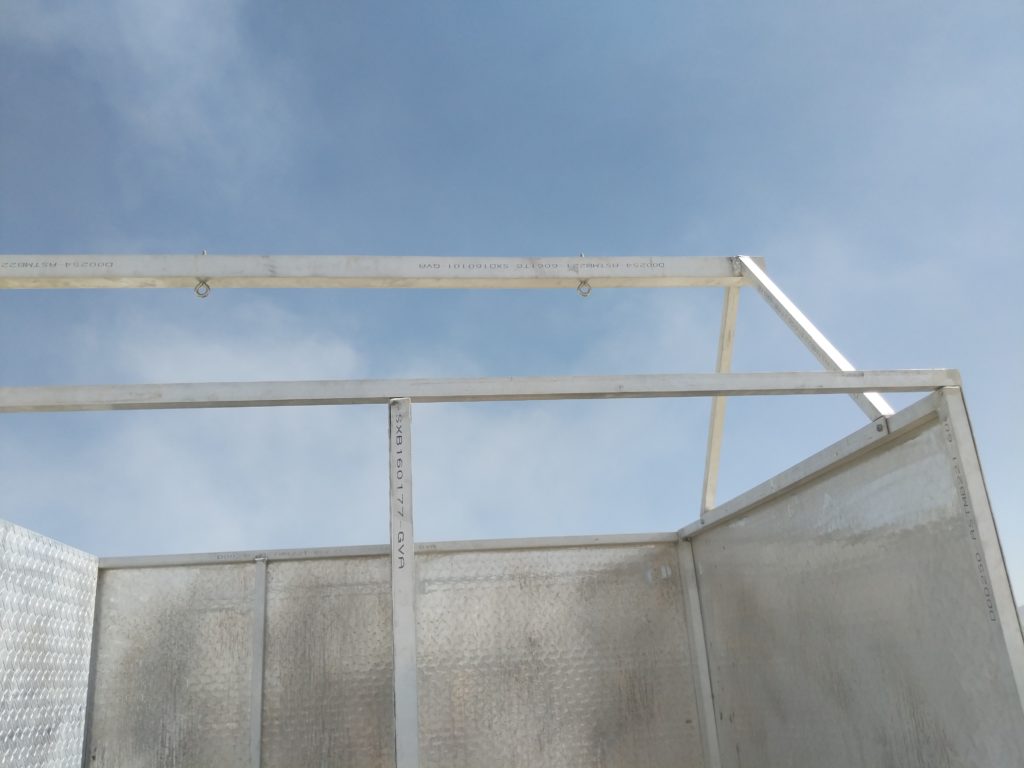
The stand for the shower is comprised of 3 pieces: 1 front facing piece and 2 side pieces, which forma U shape that is open in the rear.
The front stand legs have wings that attach to the face of the side stand legs:
The front deck support is identified by it’s railing attachment points on the front and sides of it. Shown below with the railings fitted to it, this part will be attached to the assembled stand/legs shown above.
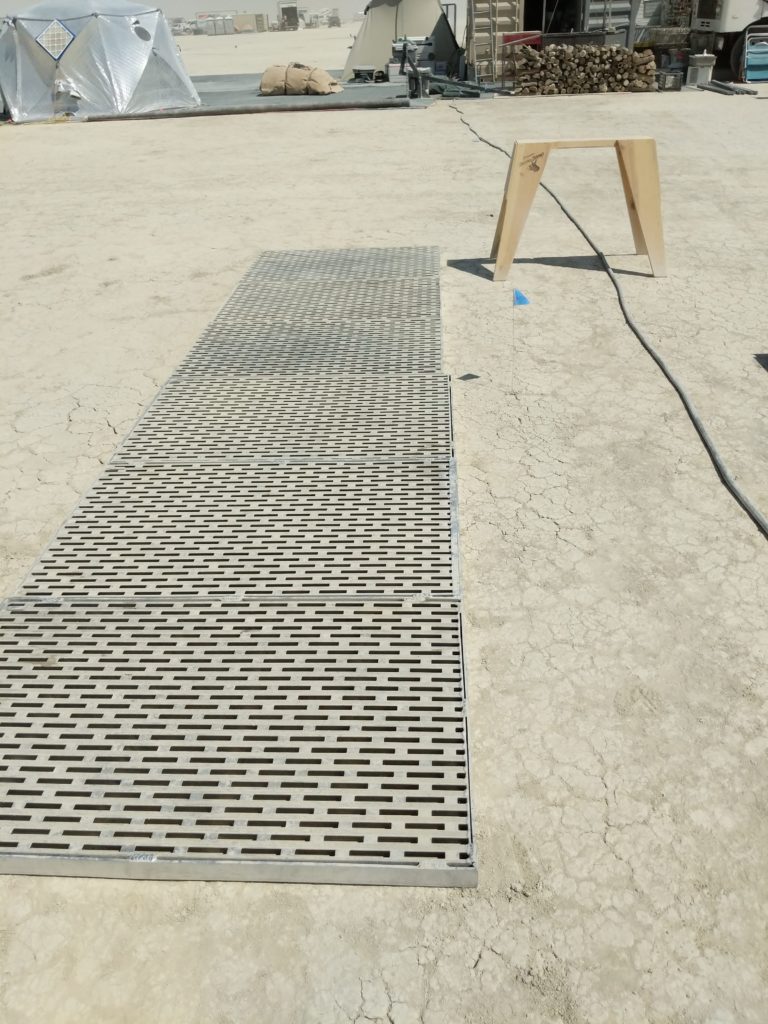
Once the front deck support is installed, place the 3 deck flooring pieces into it. Note that the flooring for the shower stalls are slightly shorter than the 3 pieces of flooring for the deck:
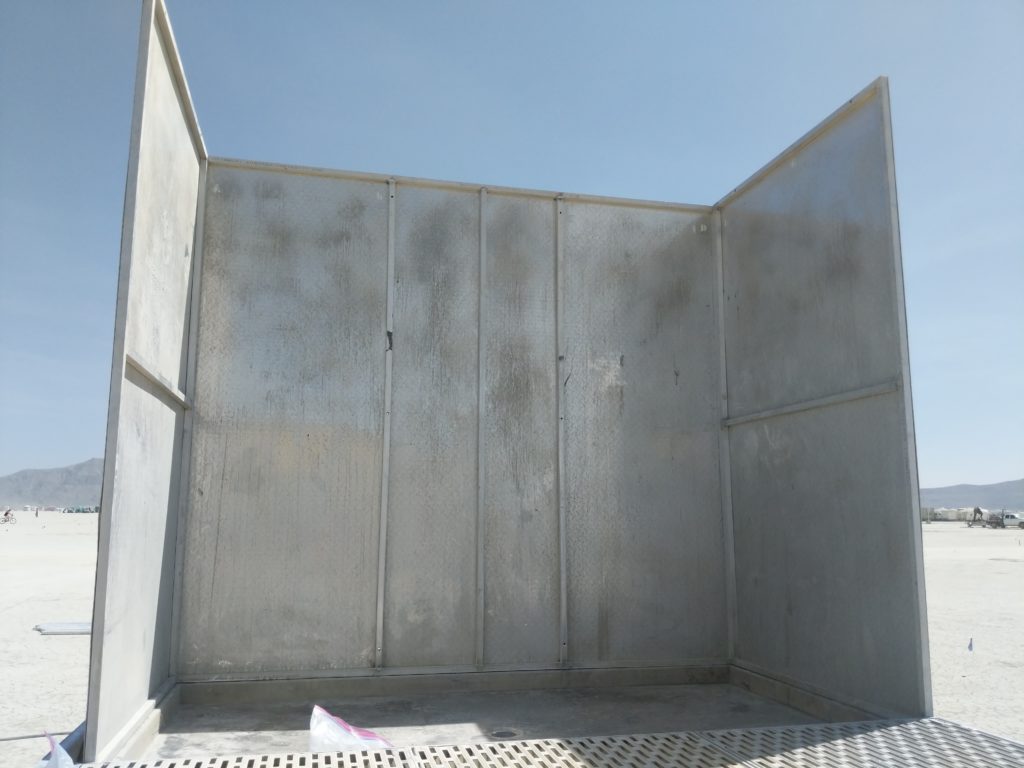
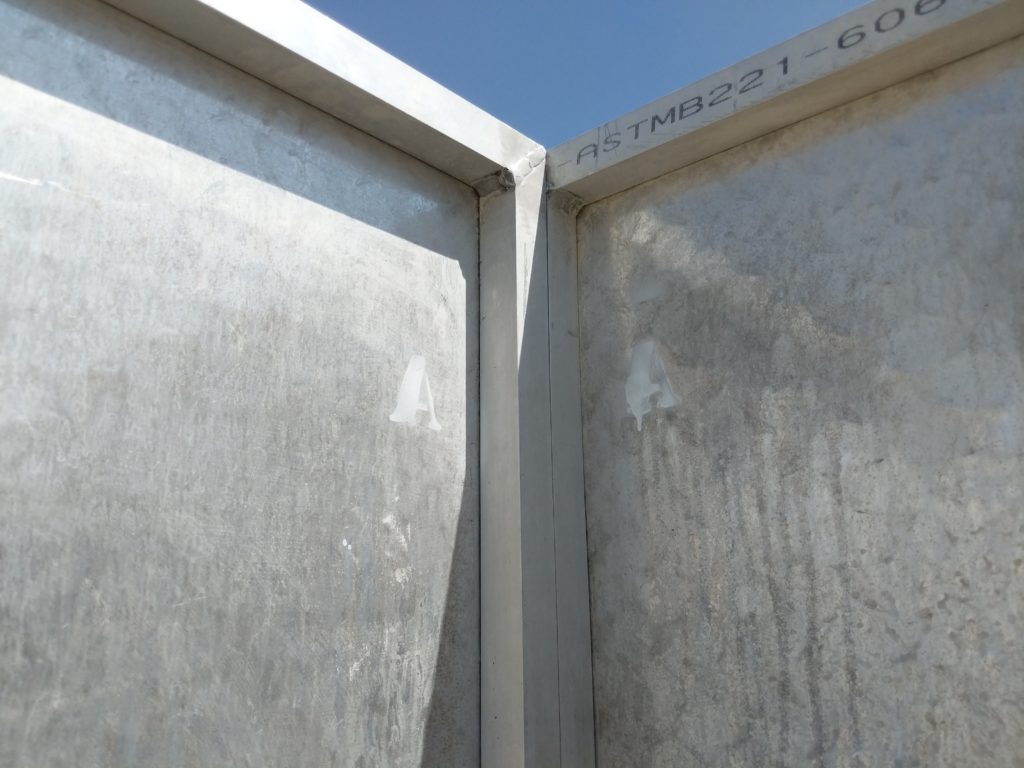
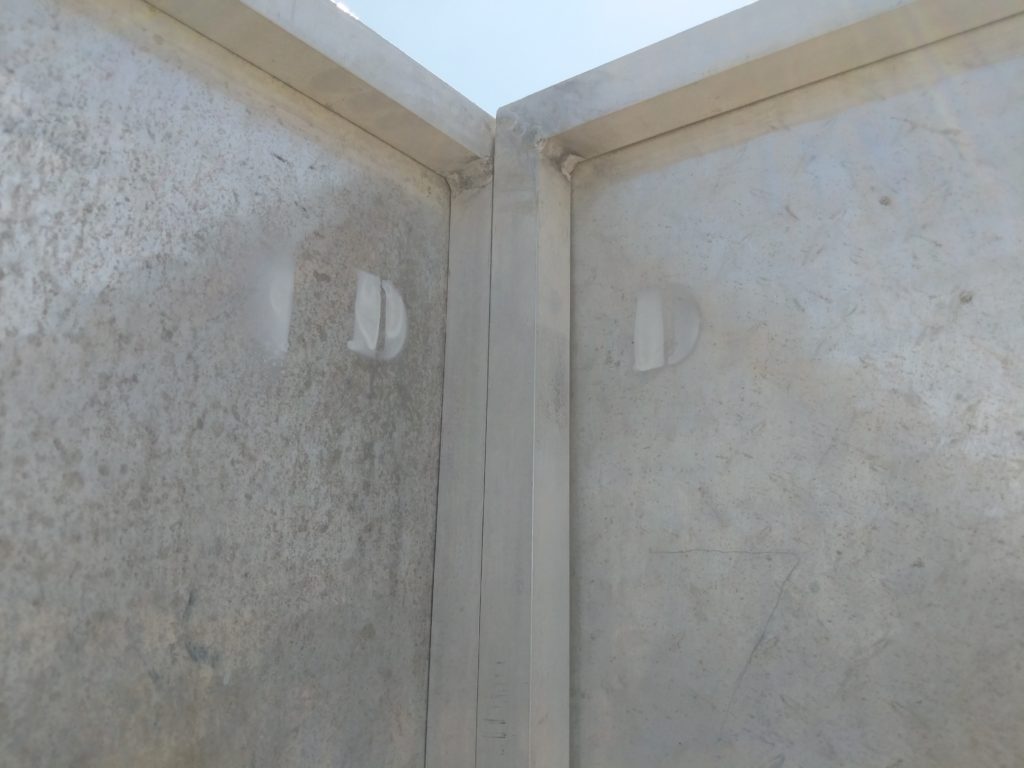
Next, place the shower pan support and shower pan into the rear half of the stand. Hoist the large shower partition onto the back edge (diamond plating facing outside and white painted letters at the top). Connect the walls labeled “A” and “D” (with diamond plating facing outward) to the corresponding points on the rear wall:
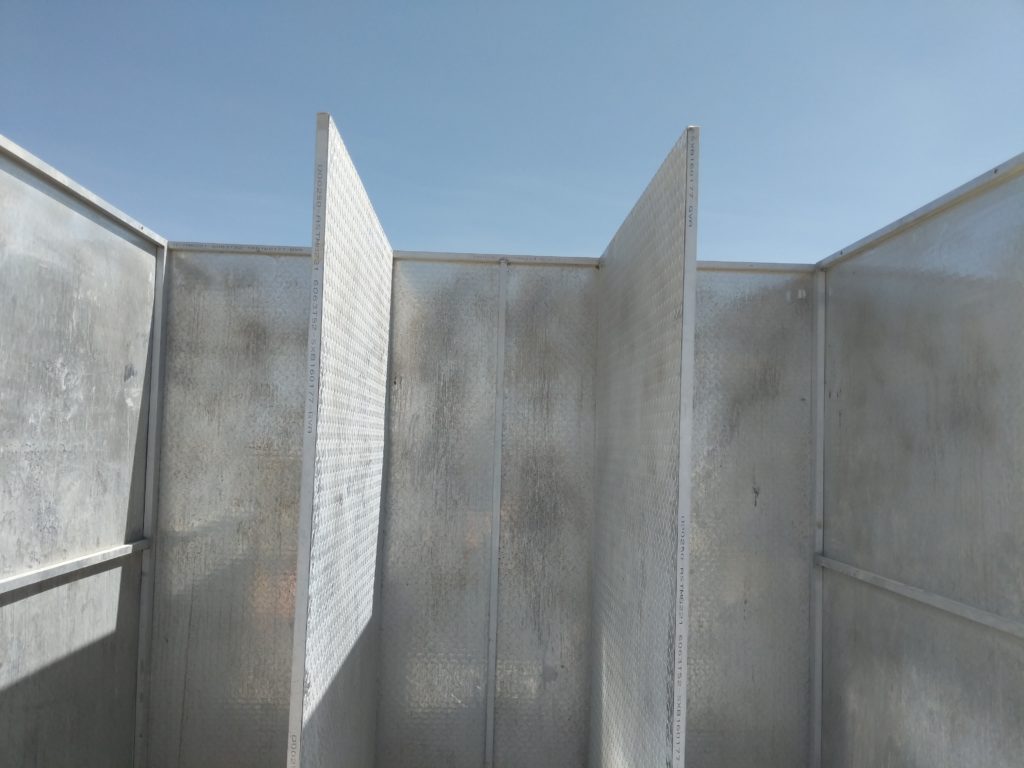
Connect the other shower stall walls with their corresponding letters to the rear wall:
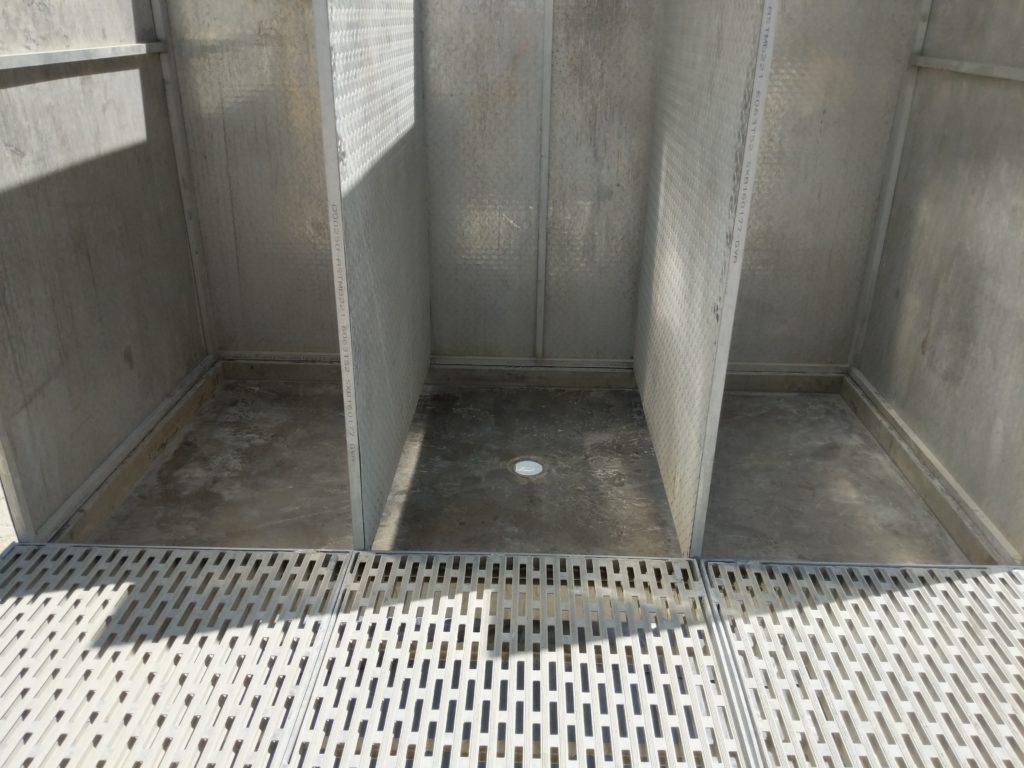
Drop in the remaining 3 floor pieces, 1 in each stall. Attach the shower-bag support system and secure with the 4 bolts:
Attach a rope cleat to the wall of each stall for securing the shower-bags. Connect the drain pipe to the drain pan and then connect the outputs to the wastewater collection bins.
Note: Fill the furthest bin first, closing and connecting the next closest one as needed.
Finalize the installation by adding the pulley system for the shower bags and the curtains. Additional straps over the walls and bag support system, anchored to the ground and/or frame, may be added for extra security from wind storms.